Dremel RedesignAn exercise in appearance model making and design process


Dremel
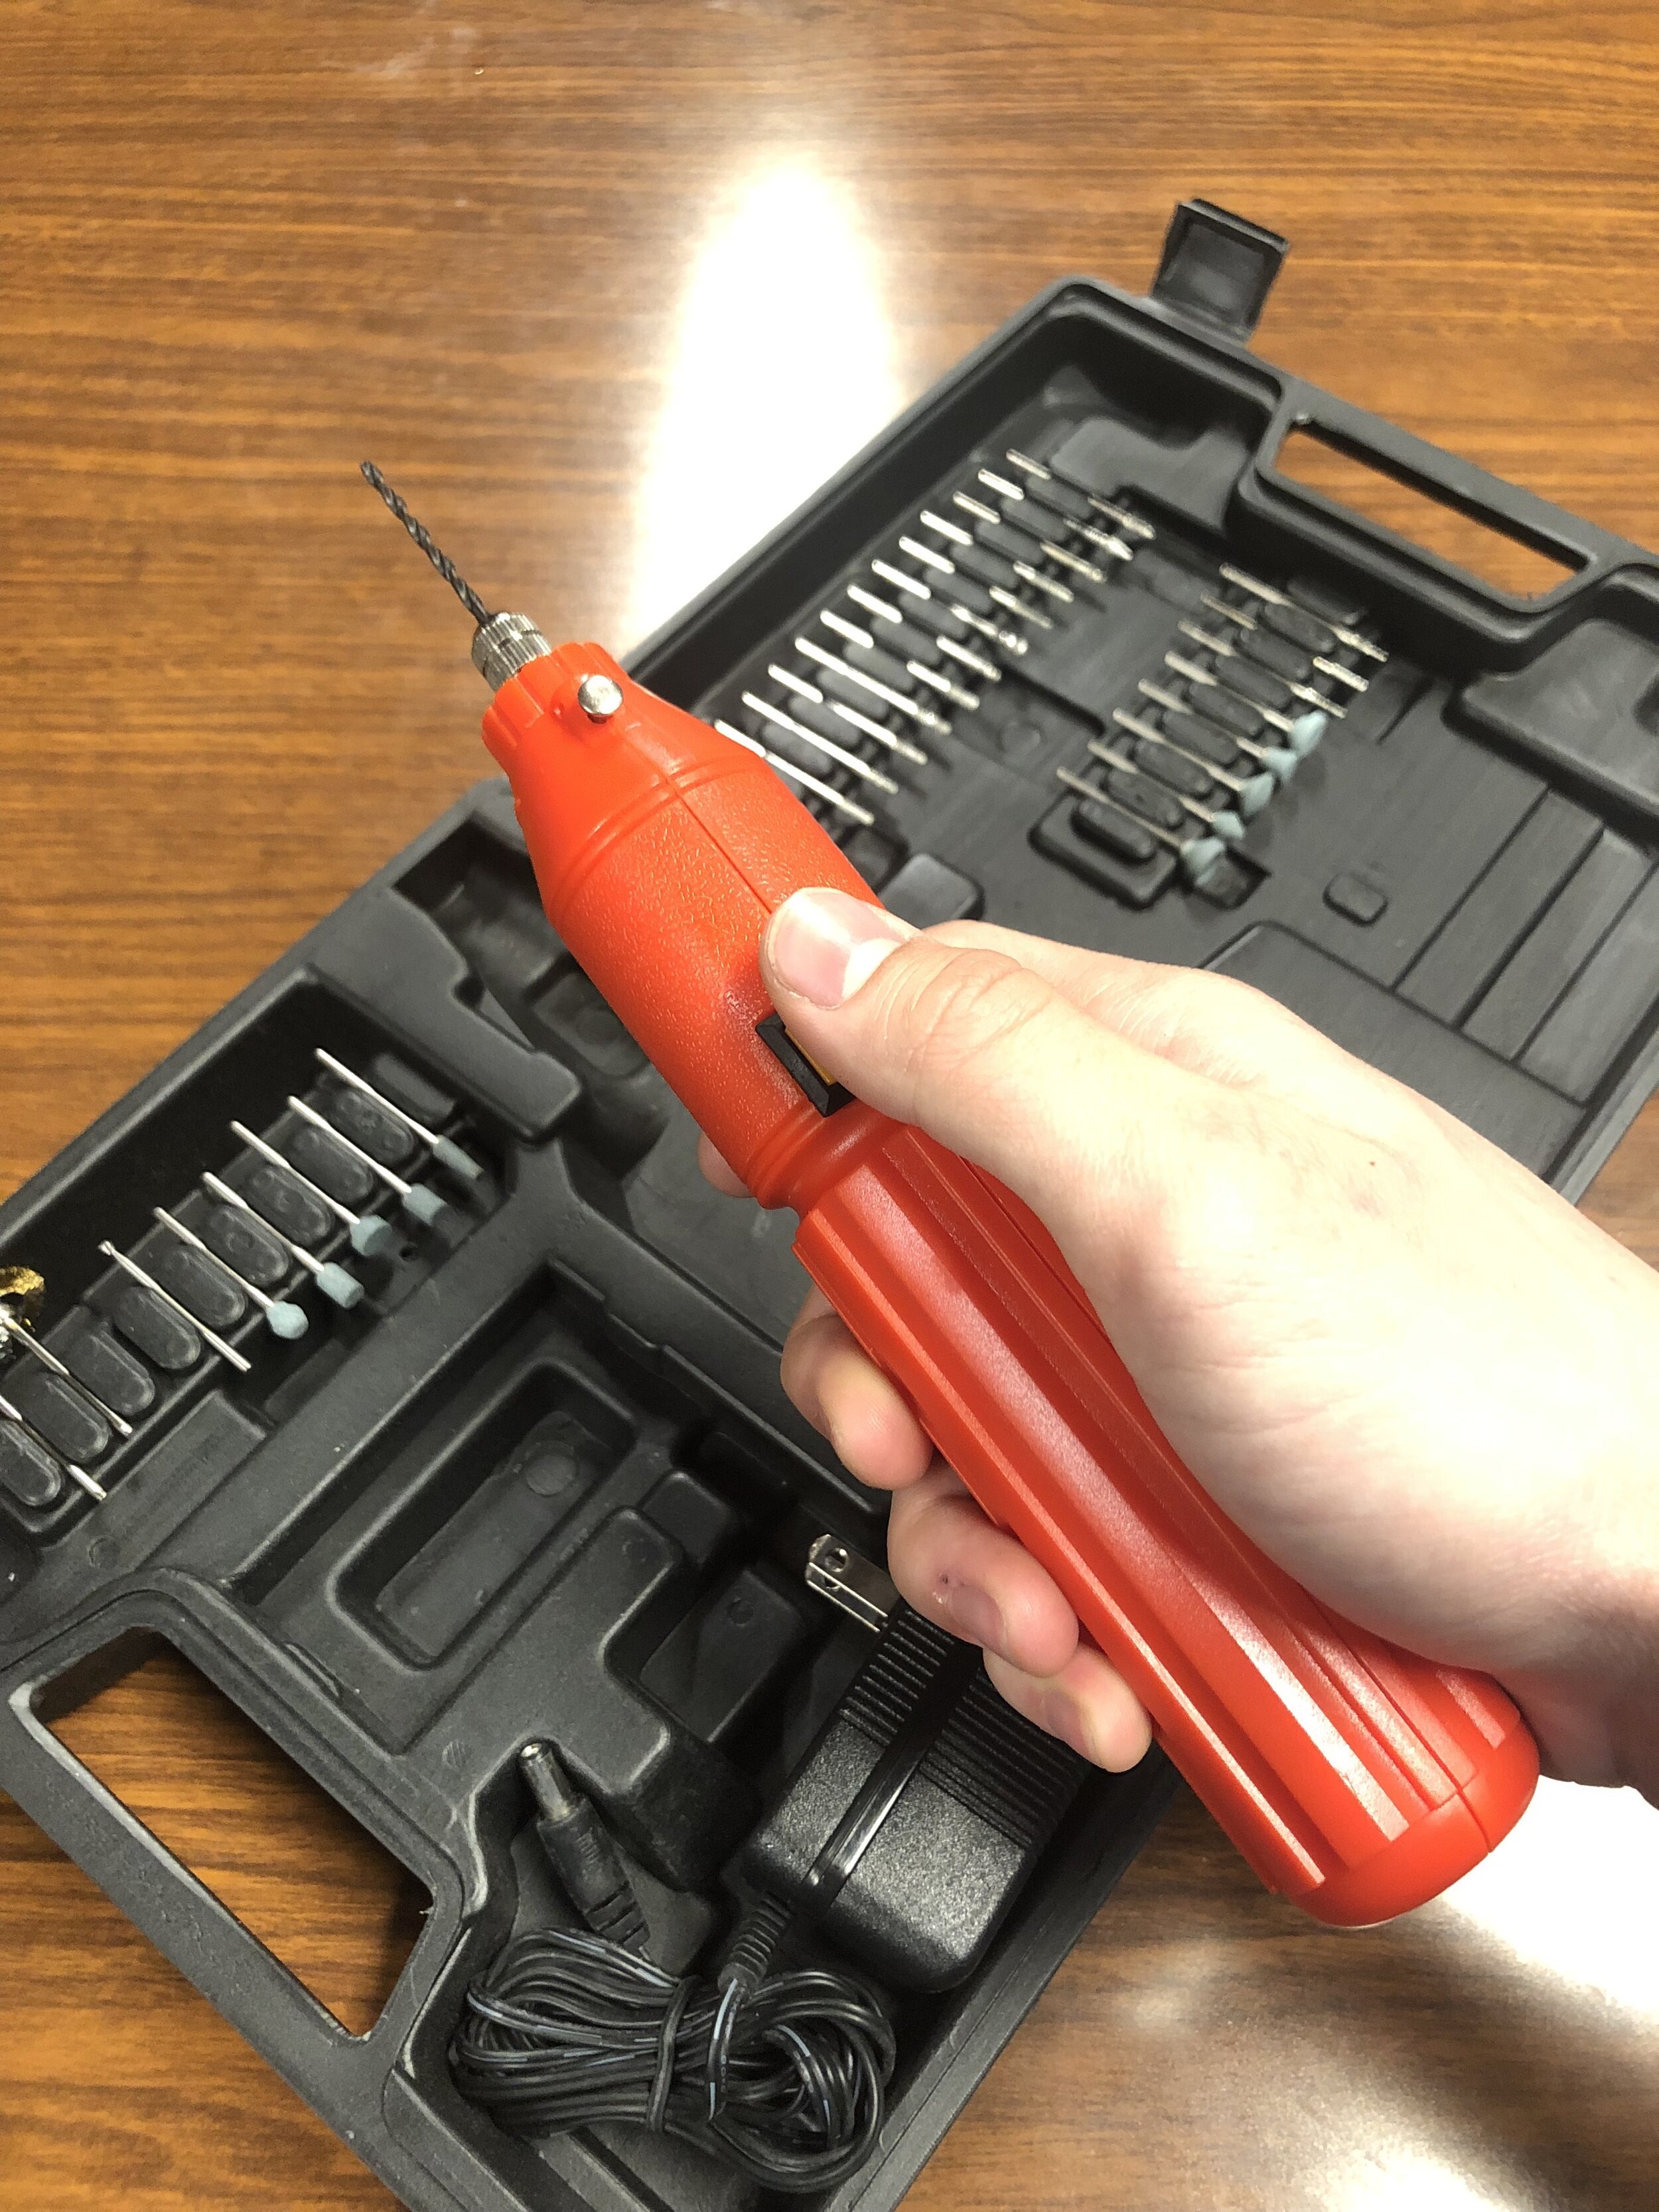
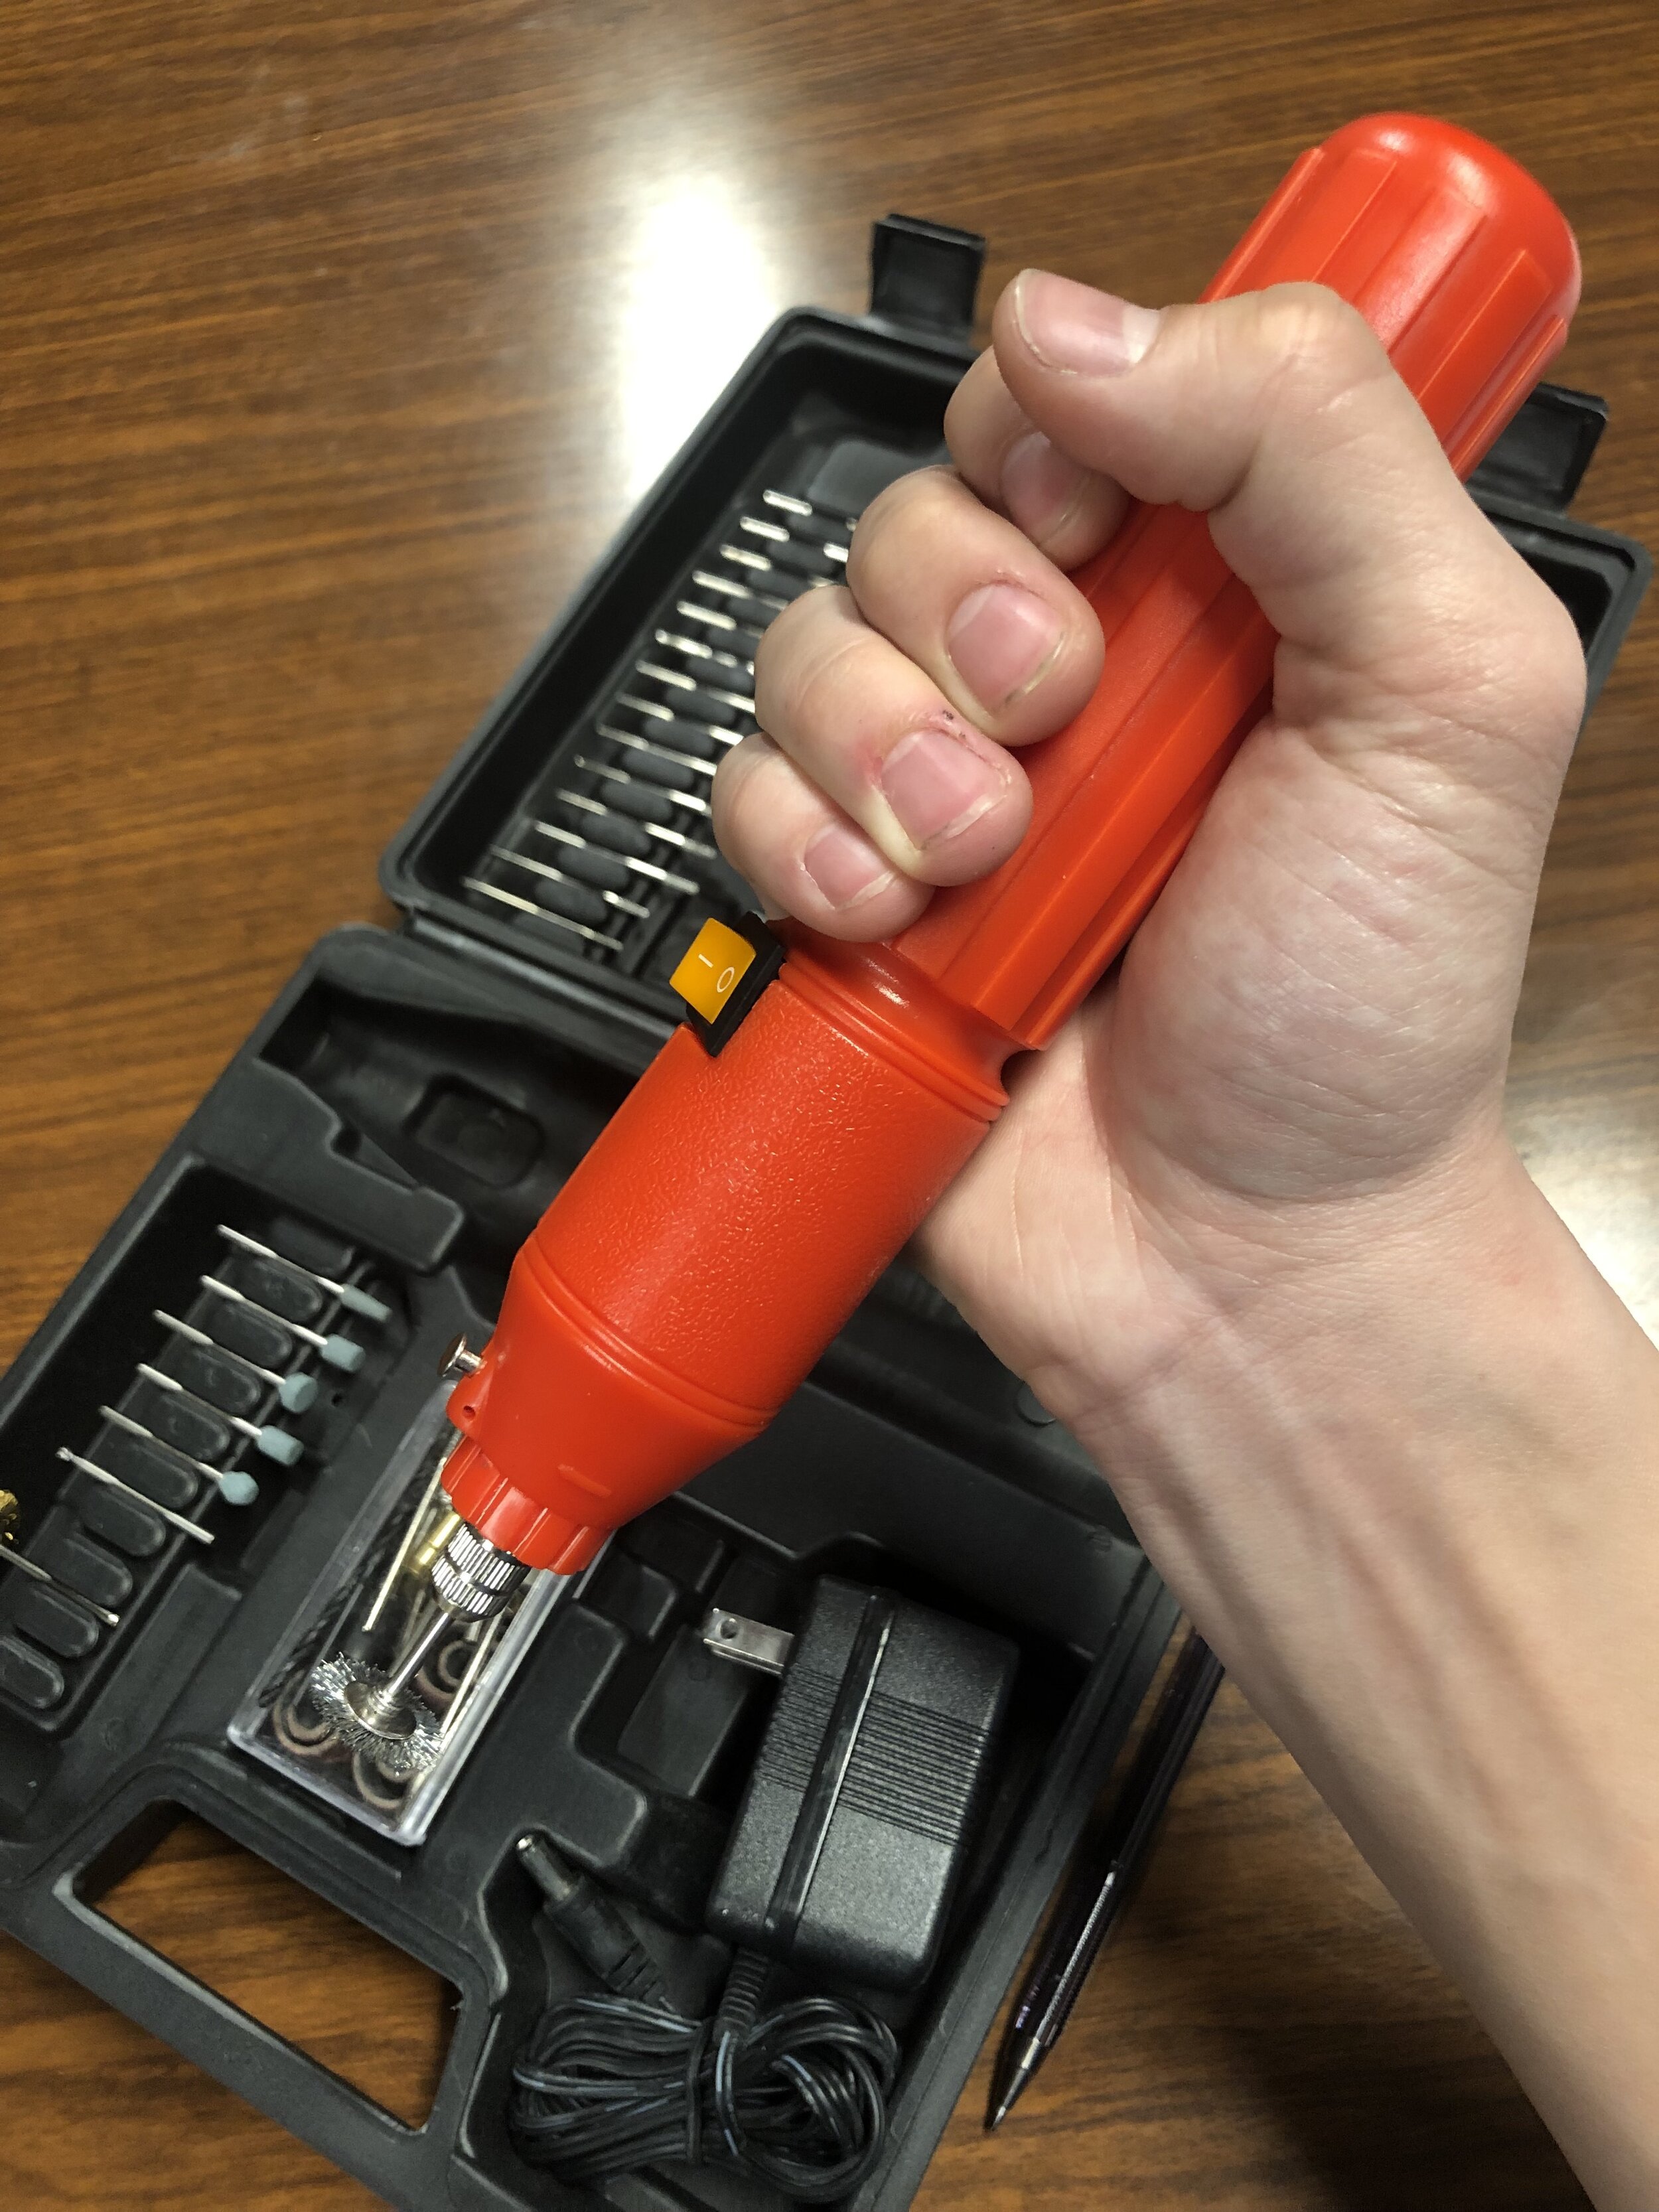
Design ProcessOriginal Product
With this project I tried to focus on creating a sleeker and more ergonomic shape.


Initial Sketches

Mockups


Concept Selection

Omitted
Although ergonomic, this form allowed for unnecessary leverage and was awkward.


Chosen
Final direction, chosen for aesthetics and comfort in hand.
Fitting Components


Build ProcessI started off by lathing the general shape out of modulan foam.


Then I used a bandsaw to cut out the upper and lower portions, and a drill press for the button.
Next I made sure that all of the main bodies fit together.


I refined the form by sanding in chamfers to the main bodies before gluing them together.
After gluing the main bodies together, I smoothed out the form with bondo, and added a coat of primer.

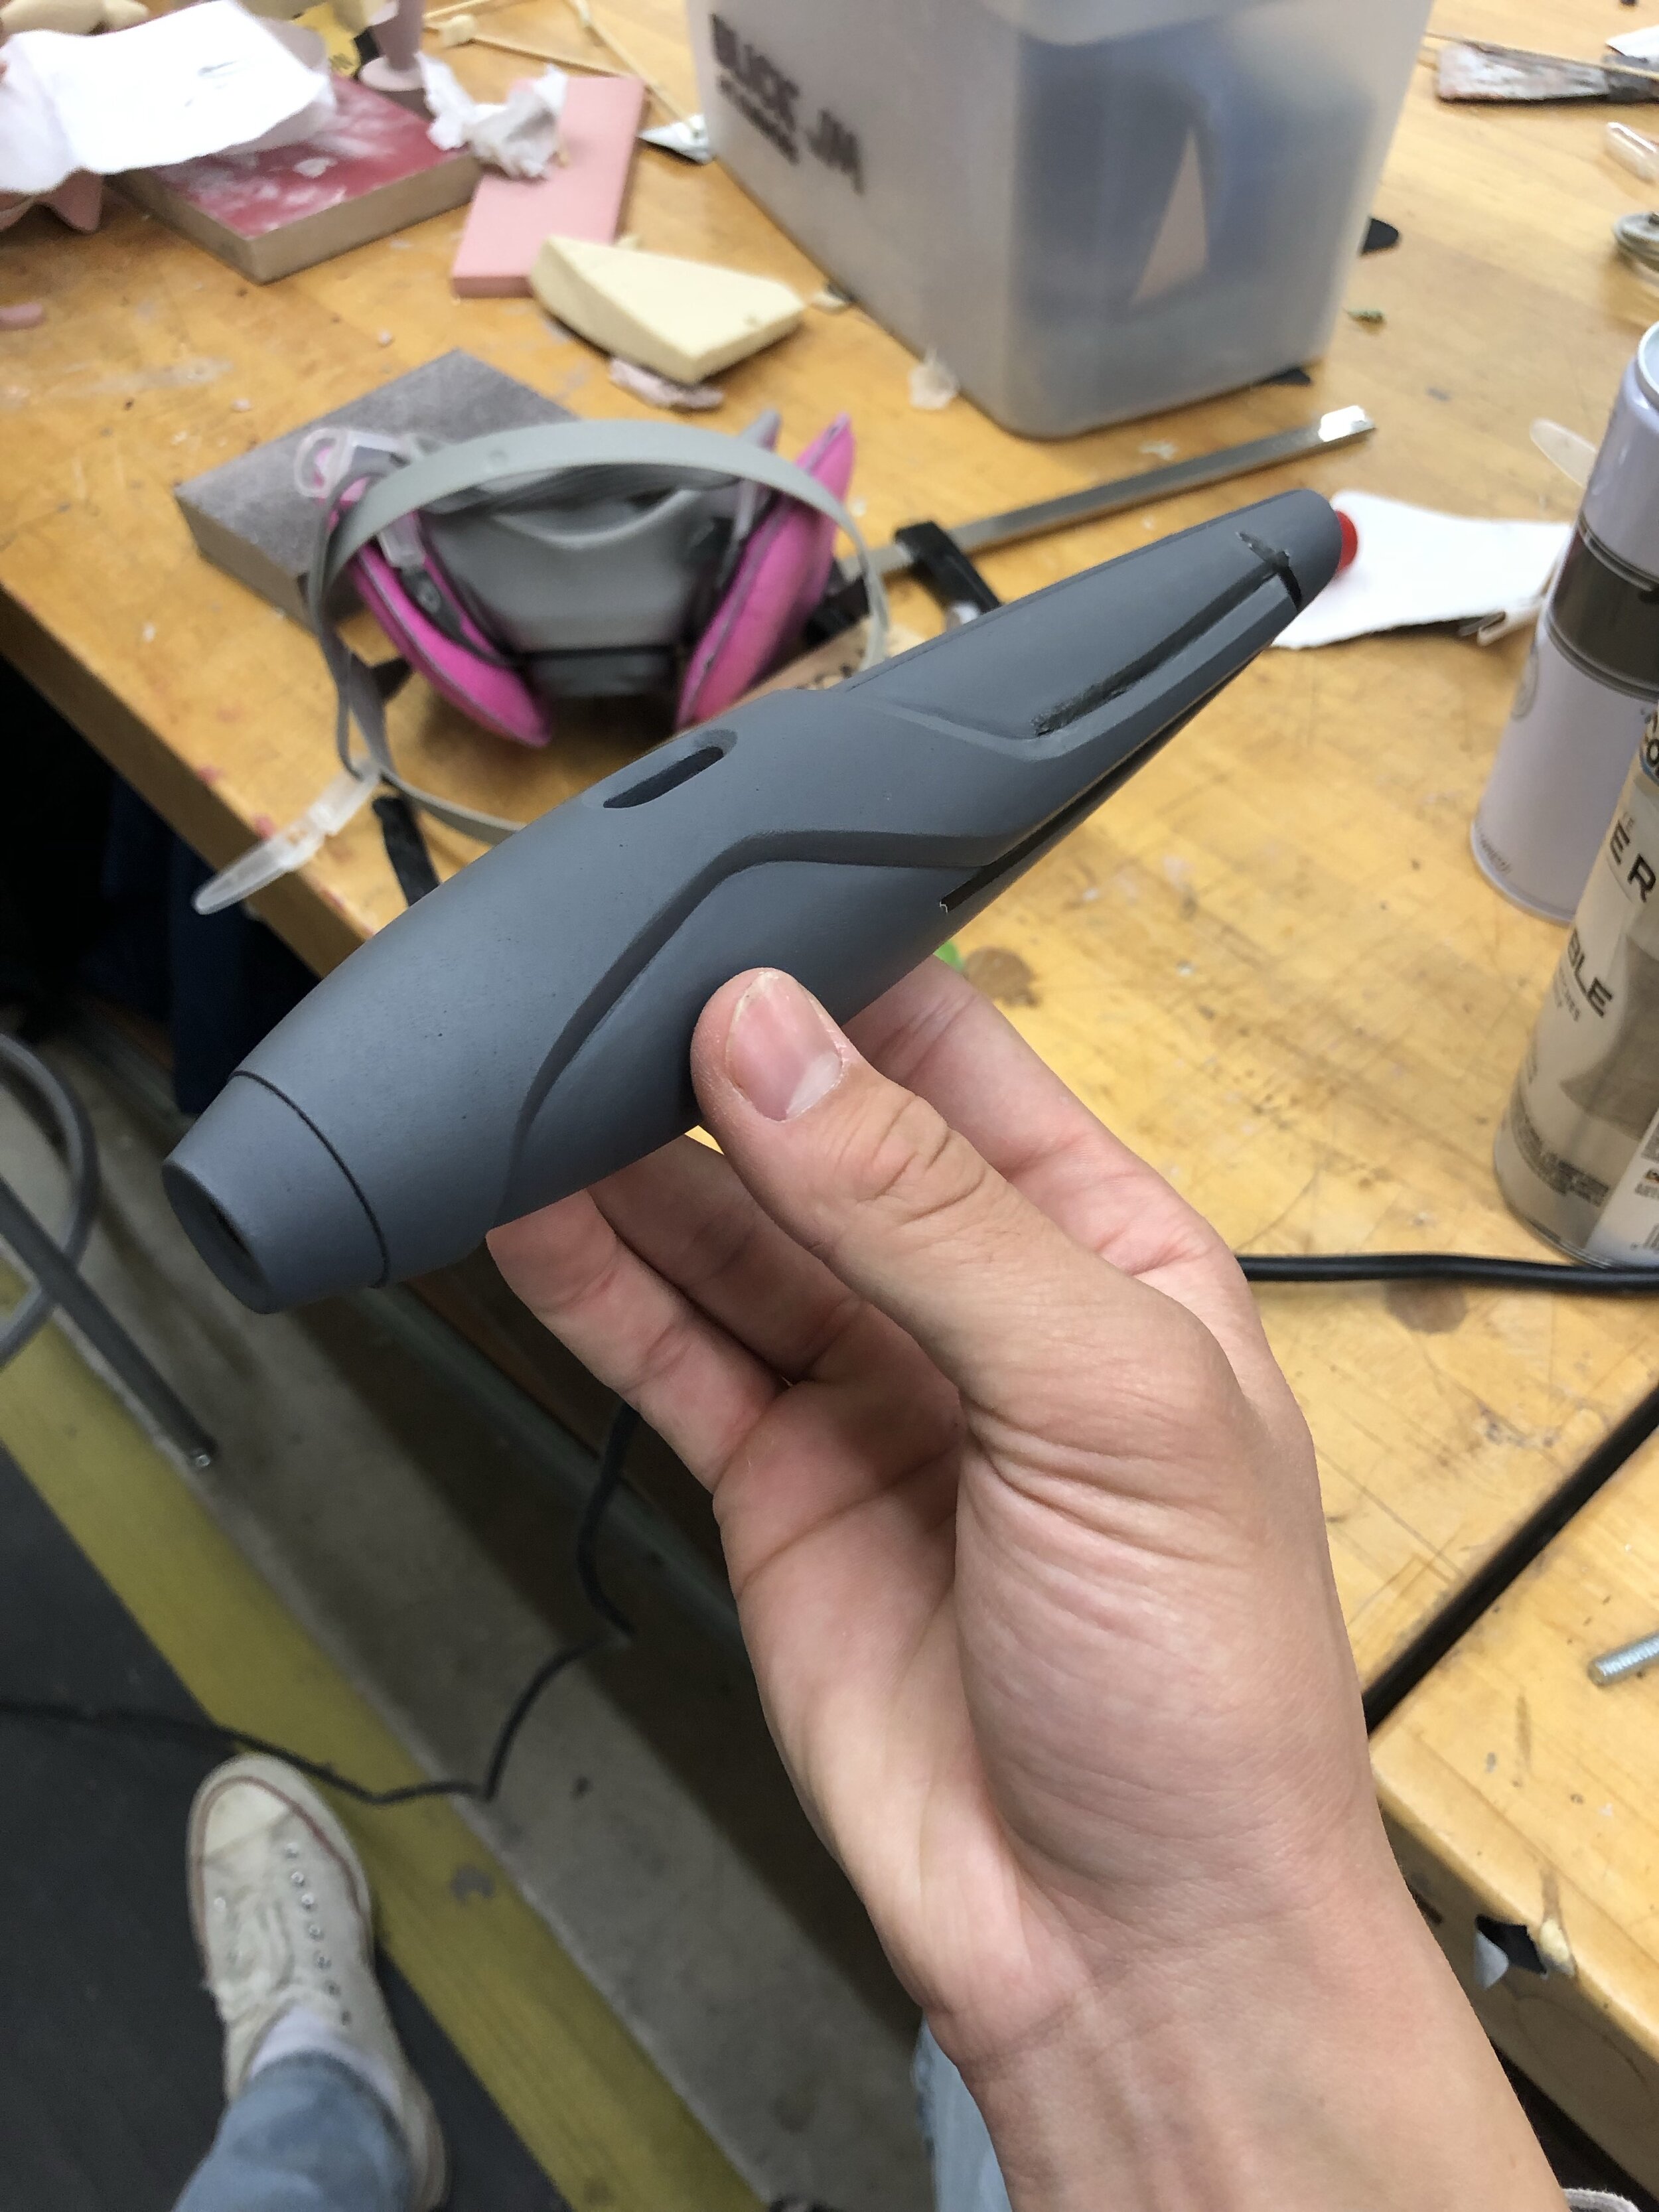
Final Product
Constructed by two pieces of lathed high density polyurethane foam, includes hardware from the original tool, and is covered in grey primer and silver paint.